Welcome to the smart valve installation guide, designed to offer you vital insights into the effective setup of smart valves. Whether you’re an industrial engineer or a plumbing enthusiast, understanding how to install smart valves can significantly enhance your plumbing systems’ efficiency.

What Are Smart Valves?
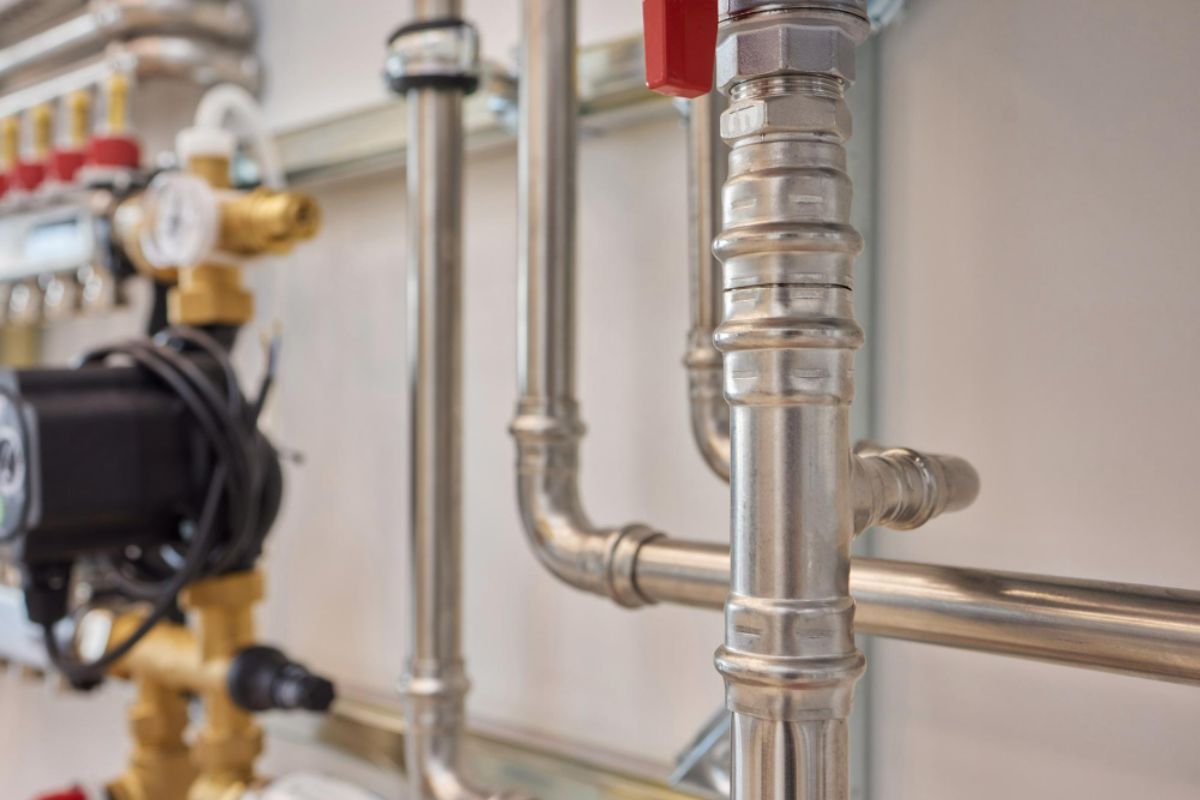
Smart valves are innovative devices that leverage technology to control the flow of liquids or gases. These valves are integrated with smart features, allowing remote control and automation, contributing to enhanced operational efficiency and energy savings.
Benefits of Smart Valve Installation
Before diving into the installation guide, let’s understand the benefits of having a smart valve:
Increased Efficiency
Smart valves optimize flow control, minimizing waste and conserving resources.
Remote Monitoring
With smart technology, you can monitor and control valve functions remotely, enhancing convenience and operational control.
Automated Operations
Automation minimizes manual intervention, thus reducing operational risks and saving time.
Pre-Installation Requirements
Before installing a smart valve, ensure you have:
- Compatible smart valves suitable for your plumbing system.
- Advanced tools for installation.
- A solid understanding of your current plumbing layout.
Step-by-Step Smart Valve Installation Instructions
Following this step-by-step guide will help ensure a successful installation:
Step 1: Turn Off Water Supply
Start by locating and turning off the main water supply to prevent any leaks or flooding during installation.
Step 2: Remove Existing Valve
Carefully detach the existing valve using appropriate tools.
Step 3: Prepare Pipes
Ensure the pipes are clean and free from debris. Proper preparation helps achieve a leak-proof setup.
Step 4: Install Smart Valve
Carefully fix the smart valve over the prepared pipes, ensuring a secure fit. Follow the manufacturer’s guidelines closely.
Step 5: Connect to Smart System
Using a smart device, connect your valve to the relevant app or system for enhanced control.
Step 6: Test the System
Once installed, gradually turn on the water supply to check for any leaks. Test the smart functionalities to confirm they work effectively.
Common Installation Mistakes to Avoid
To ensure a smooth installation process, avoid these common mistakes:
- Not checking compatibility with your existing system.
- Improper tightening, causing leaks or system failures.
- Ignoring the manufacturer’s instructions.
Indications of a Successful Installation
Once your smart valve is installed, you should note:
- No leaks or water pressure issues.
- Effective control of water flow via a smart device.
- Seamless integration with other smart systems.
Maintenance Practices for Smart Valves
Maintaining your smart valve ensures long-lasting performance:
Regular Inspections
Conduct routine checks for any signs of wear and tear.
Timely Updates
Keep the software updated to benefit from new features and security improvements.
Professional Assistance
If you’re unsure about any issues, consult a professional to avoid further complications.
External Resources for Further Learning
For a deeper understanding of smart valves, consider visiting external_link.
Internal Resources for Enhanced Learning
Enhance your understanding of smart valve systems by checking out some related topics such as Smart Valve Plumbing, Pipe Maintenance Tips, and Pipe Leaks.

FAQs
What is the average lifespan of a smart valve?
Smart valves can last anywhere from 5 to 10 years, depending on usage and maintenance.
Can smart valves be used in residential settings?
Yes, smart valves are suitable for both residential and industrial applications, offering enhanced control and efficiency.
Is professional installation necessary for smart valves?
While DIY installation is possible, professional installation is recommended to ensure optimal performance and avoid errors.
This article contains affiliate links. We may earn a commission at no extra cost to you.


